Label Printing and CMYK Colors
Sending us your label artwork in CMYK format will help us get your labels printed as quickly as possible, in the highest quality.
If you’re just getting started, you can set up a new document to use CMYK in Adobe Illustrator:
Click-through Instructions:
- File > New
- Advanced
- Color Mode > CMYK
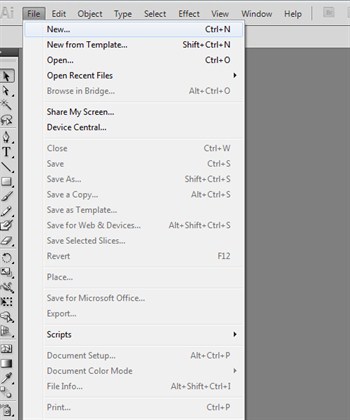
Click “File” then “New” to create a document.
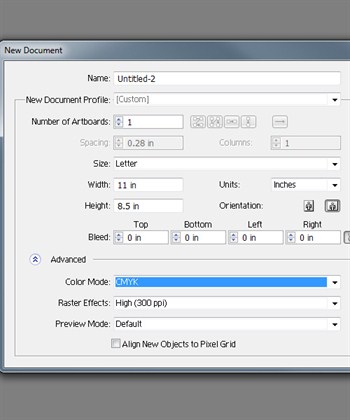
In the “New Document” pop up, select CMYK in the “Color Mode” drop down menu.
Frequently Illustrator will default to RGB Color Mode. This makes sense if you’re designing artwork for the web, because a computer monitor uses RGB to display colors. However, for printing, CMYK is the standard. So, you’ll need to check to make sure you’re working in the right Color Mode, and convert your artwork if necessary. To check what mode convert your Illustrator label artwork to CMYK.
Click-through Instructions: File > Document Color Mode > CMYK
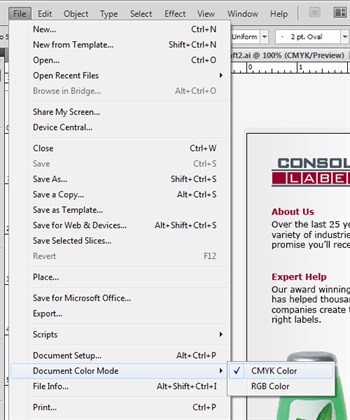
Go to File, then Document Color Mode and select CMYK Color. Once selected, your document will be in CMYK.
To ensure all of your artwork has been successfully converted to CMYK:
Click-through Instructions:
- Select > All
- Edit > Edit Colors > Convert to CMYK
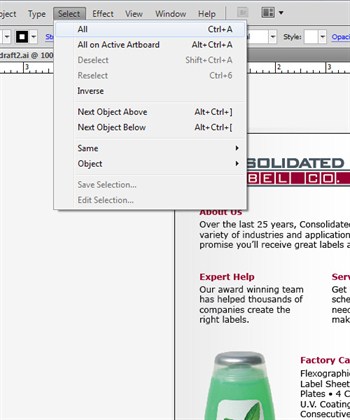
All objects should be selected when converting artwork to CMYK.
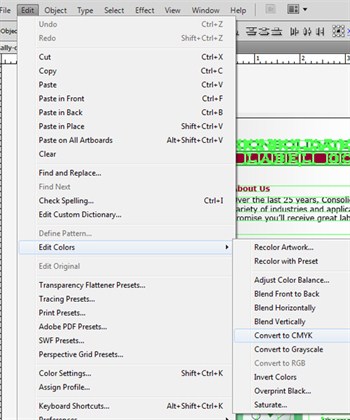
Click “Convert to CMYK” and you’re done!